Much of the roof work depended on the weather: the wind, the temperature, rain or snow, etc. A complex of tarps had to be rolled back to do the work and then unrolled at the end of each day to protect the roof materials from the elements.
In February and March, we finally had warm enough weather to use the glue to adhere the blue board. Over the eyebrow arches we needed a tighter bend than the 2-inch blue board would allow. On the first layer, we cut long wedges to fit the curve. It was tedious and tended to leave gaps at the top. For the second two inches, we used two layers of 1-inch blue board. It would bend far enough, but needed blocks laid on the edges to keep it glued down.
In late March we rolled out the craigslist pond-liner, discovered how much more we needed, and bought the remainder. The seams of the EPDM pond-liner were glued with a special adhesive and then taped. It was a treat to remove the tarp completely and put it away.
The roof layers are (from bottom to top): 2x6 tongue-and-groove boards, plywood, flashing (on the edges of the overhang), blue board, pond-liner, straw, lava rock, straw, dirt, plants.
 |
| Flashing! |

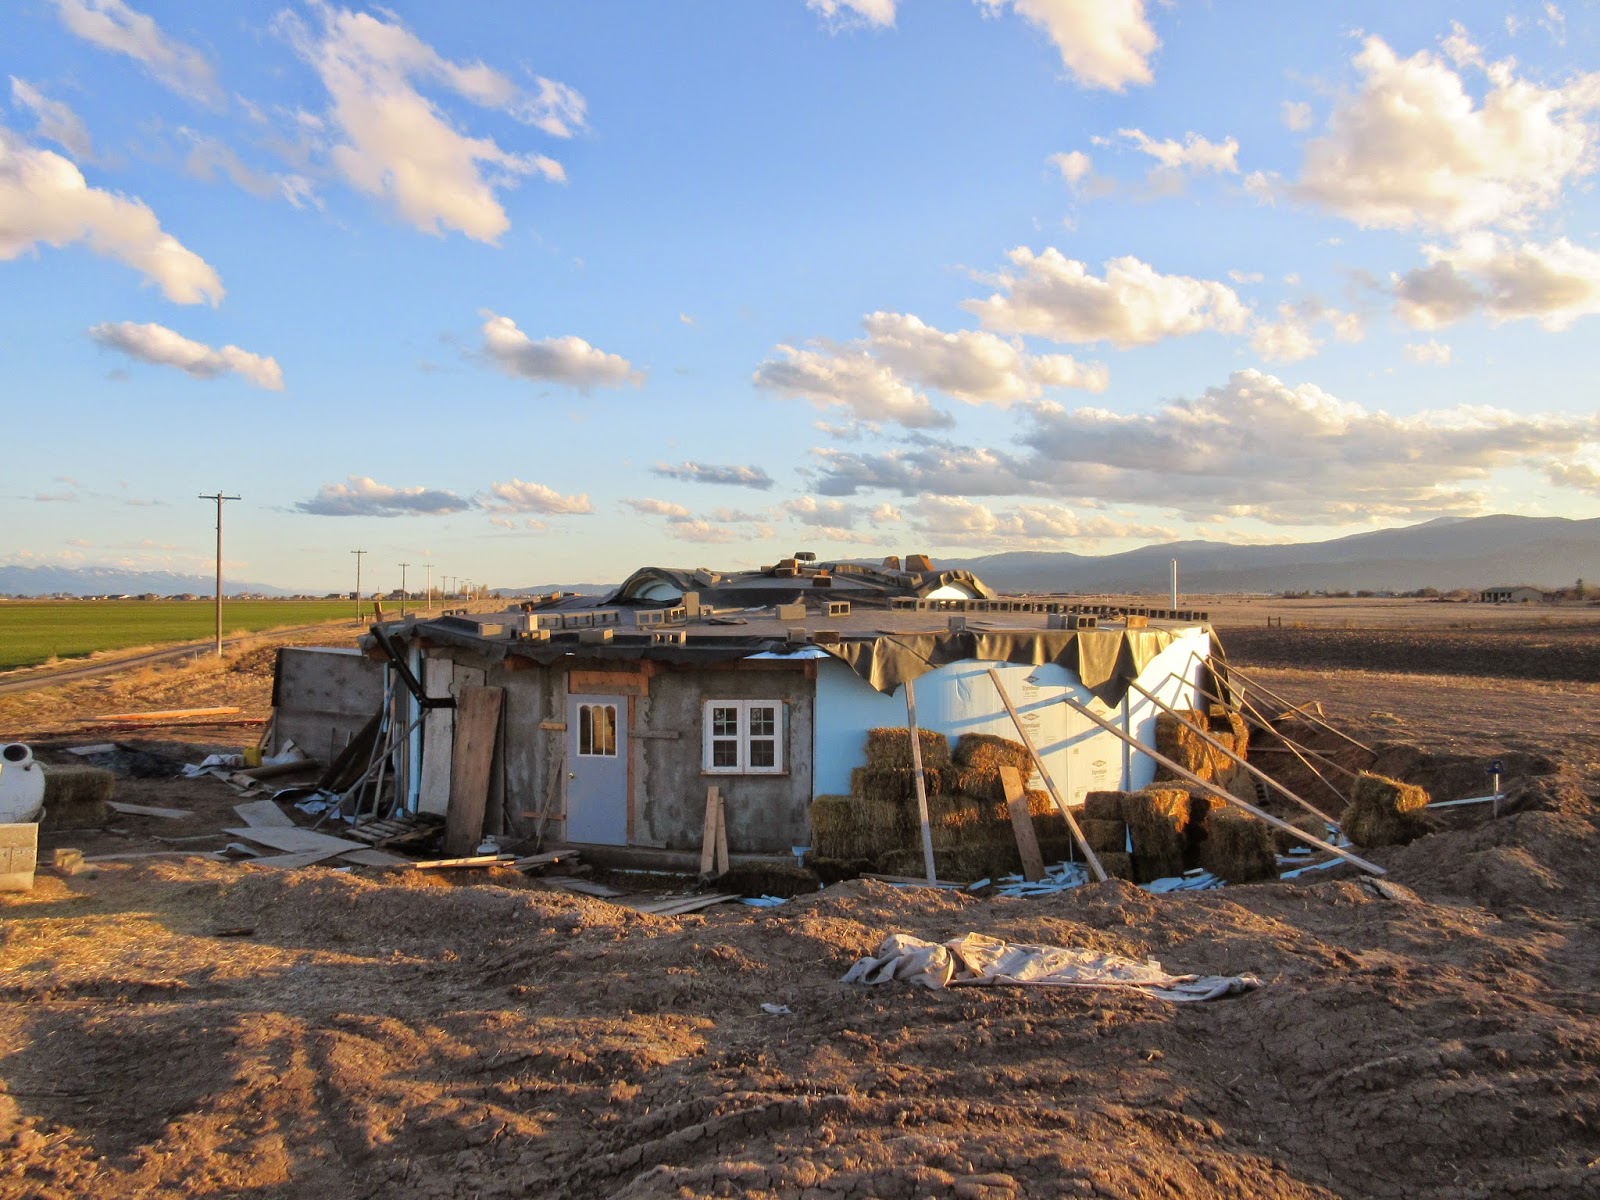 |
| The black material on top is the pond liner. All of the blue board on the right side of the house in the picture will be bermed with earth. |
 |
| This happy bird chirp chirped away while I took pictures of the roof. Soon there will be glass in that eyebrow window! |
 |
| Roof! There it is! |
 |
| The to-be-bermed area. |

Money Spent: $7359 (17,637 total for roof)
$2153 pondliner for waterproofing
$3515 blueboard insulation
$ 176 glue for blueboard
$ 890 lava rock
$ 545 25 4x8 5/8 cdx plywood and 4lb 1 5/8" black screws-coarse
$ 80 16D vinyl coat sinker nails, 9x3 gold star screws, 2x8s, 15"x24' R19 insulation
(+ flashing and 12 tubes glue included under building materials)
No comments:
Post a Comment