Thursday, January 8, 2015

The Windows

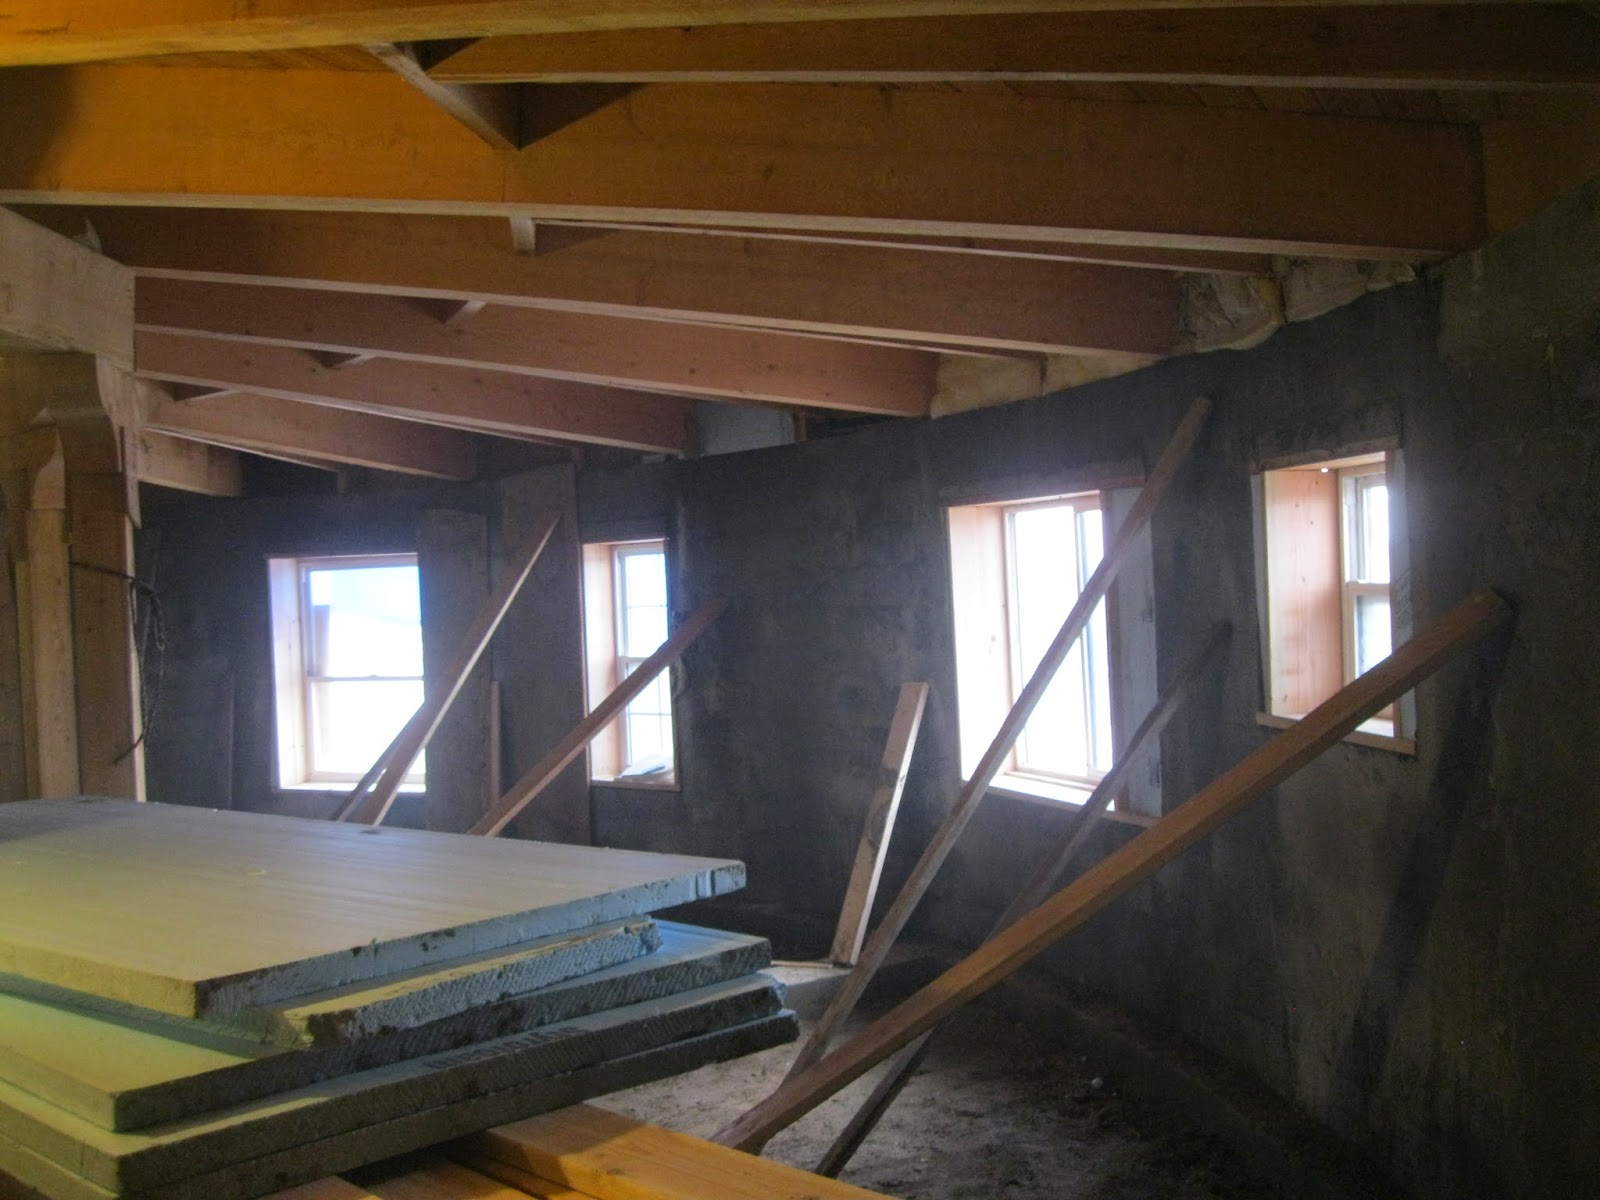
We bought several windows at the Habitat for Humanity ReStore, but our best windows were given to us by our neighbors Melanie and Andy.


Before the second pour, Ben hand mixed concrete to make solid window-hole bottoms. Ben glued sills out of 2x6s. After he installed the sills--plum, square, and flush with the future wall surface--he and Sam set in the windows. Then they stopped up the gaps with insulation.


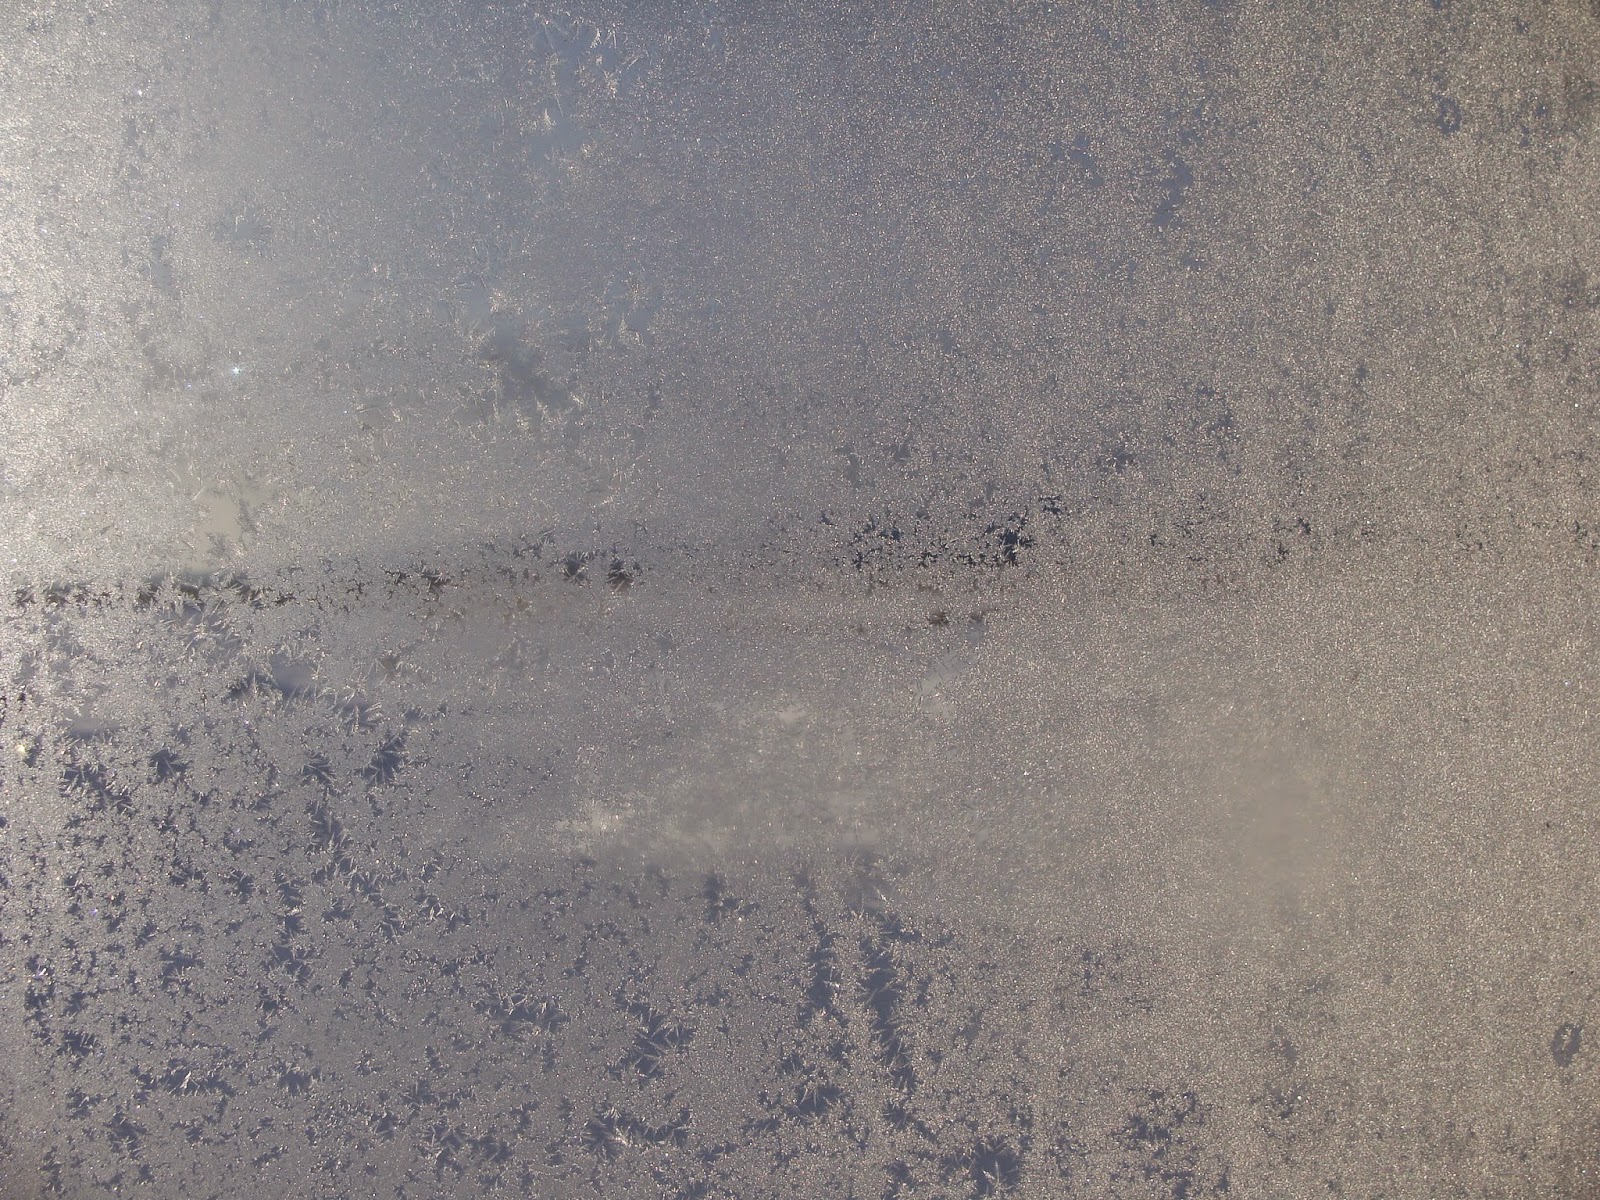
Frosty!

Our views are amazing.


Money Spent: $317
$220 vinyl windows
$  47 windowsills (6 2x6 12 hem fir)
$  50 2x6x12 SEL struc df

The Preparations for Working in Winter

We plugged the big holes in the walls with plywood, cardboard, fiberglass, and blue-board. We plugged little holes with more fiberglass, caulk, and empty mortar mix bags.


Oscar, the stove Ben built for his boat, heated the house with scraps, venting his smoke out one of the window holes.

The Electricity

Once there was a place to hang a meter we applied for our electrical permit. We then had to mount the meter on the wall using brackets Ben welded up and bolts through the wall holding 2x4s. We dug a 50' trench from the wall to the power pole; we then laid the conduit with a pull rope inside and grounded the meter. Finally, the power came. Goodbye, generator!


Money Spent: $1200
$ 200 electric permit
$ 125 Flathead Co-Op Deposit
$ 356 Flathead Co-Op Balance
$  92 materials for electricity
$ 133 meter box
$  15 breaker box
$   4 coupling
$   5 breaker (wrong kind)
$   6 circuit breaker (right kind)
$ 171 copper wire and breakers
$  93 sched 40 PVC electrical conduit, 2 copper grounding rods

The Radiant Heat

I was super excited about the idea of radiant heat. I did a whole bunch of research and ordered the system way back in August (we thought we would be putting it in in September or October...it finally got put in end of December/beginning of January). It turns out that it was a lot of work because of the structure of the house and the stove and Sam admitted he wished we hadn't decided to do it. I have a feeling we will be glad for it when our feet are nice and toasty during the cold Montana winters.

We put chicken wire on the sand and then laid the radiant heat PEX tubing on top.
Our daughter inspected our work.
This is the console for the radiant heat.
We had to thread the PEX through the concrete foundation (Sam and Ben had made little holes throughout the concrete to accommodate this). The PEX got kinked here and there, so Sam ordered couplings so we could fix that.

PEX!
We can totally do this, right?


Right.

Money spent (so far): $2585
$2180 radiant heat system
$ 257 shipping for radiant heat system
$  58 PVC and threaded rod
$  30 wire mesh
$  42 couplings and shipping
$  18 copper pipe and fittings

Friday, December 12, 2014

The (Inside) Surface Bonding

Ah, surface bonding.

First Sam puts a 50lb bag of surface bonding cement (Quickwall) into the wheelbarrow.
Then he adds water and starts mixing. It's hard labor to get it all mixed up.


Eventually it turns into this sludge that he spreads over the concrete blocks.
He gets some sludge on the trowel...
...and starts spreading the sludge on the concrete blocks. It's messy.

It's important to really get it in the blocks and crevices.
The entire interior wall needed to be covered. So. Much. Wall.
This is what it looks like after it has cured.
Sam almost perfectly calculated the amount of surface bonding needed. We ran out with this much left. Sadness.

Money Spent: $178
$ 178 7 50lb bags of Quikcrete Surface Bonding Cement

The Roof: Part One

We erected 12 6x6 posts on the inner-footing ring.


On the posts we put double-curved capitals to support 12x6 beams.


From the wall to the beam ring we laid 24 12x6 beams with a tractor (Sam's best friend Cody helped a lot). We dropped the beams on rebar spikes, which had been set in the wet concrete. We drove more rebar through the other ends, pinning them to the ring. Then we laid 12 more 12x6s from every-other outer beam to the stove column.

Because the spans between beams at the edge of the roof was excessive, we used some salvaged 3x8s as "hemi beams." A 4' section nestled into notches in the big beams. Then we attached an 8' section to its center with 1" diameter dowels. Last we propped the ends on blocks on the wall.


Then we (with Cody's assistance) nailed 2x6 tongue-and-groove boards from beam to beam.


Because the big entryway arch would not allow tongue-and-groove planking in that orientation, it had to run radially. To diminish the span, Ben fabricated three sets of arch beams, which he set into notches in the 12x6s. The three sections of roof center that were to house the eyebrow windows received similar treatment on a smaller scale.


We protected the roof decking from the imminent bad weather with tarps and some 6-mil plastic.


Over the tongue-and-grove we screwed 5/8" plywood; Sam's highschool friend (and our now neighbor) Jay helped. We had to use two layers of the more flexible 3/8" plywood over the entryway and eyebrow sections.


A lot of work went into creating the eyebrow windows--they will look amazing!


Money Spent (so far): $10,278
$ 124 lumber
$ 488 3x8 lumber
$4794 tongue and groove
$3156 beams ($1700 was done in trade)
$  60 nails
$  67 2x6s
$1330 4x8x5/8 CDX fir 5ply plywood 50SH
$ 259 4x8x11/32 CDX fir plywood